
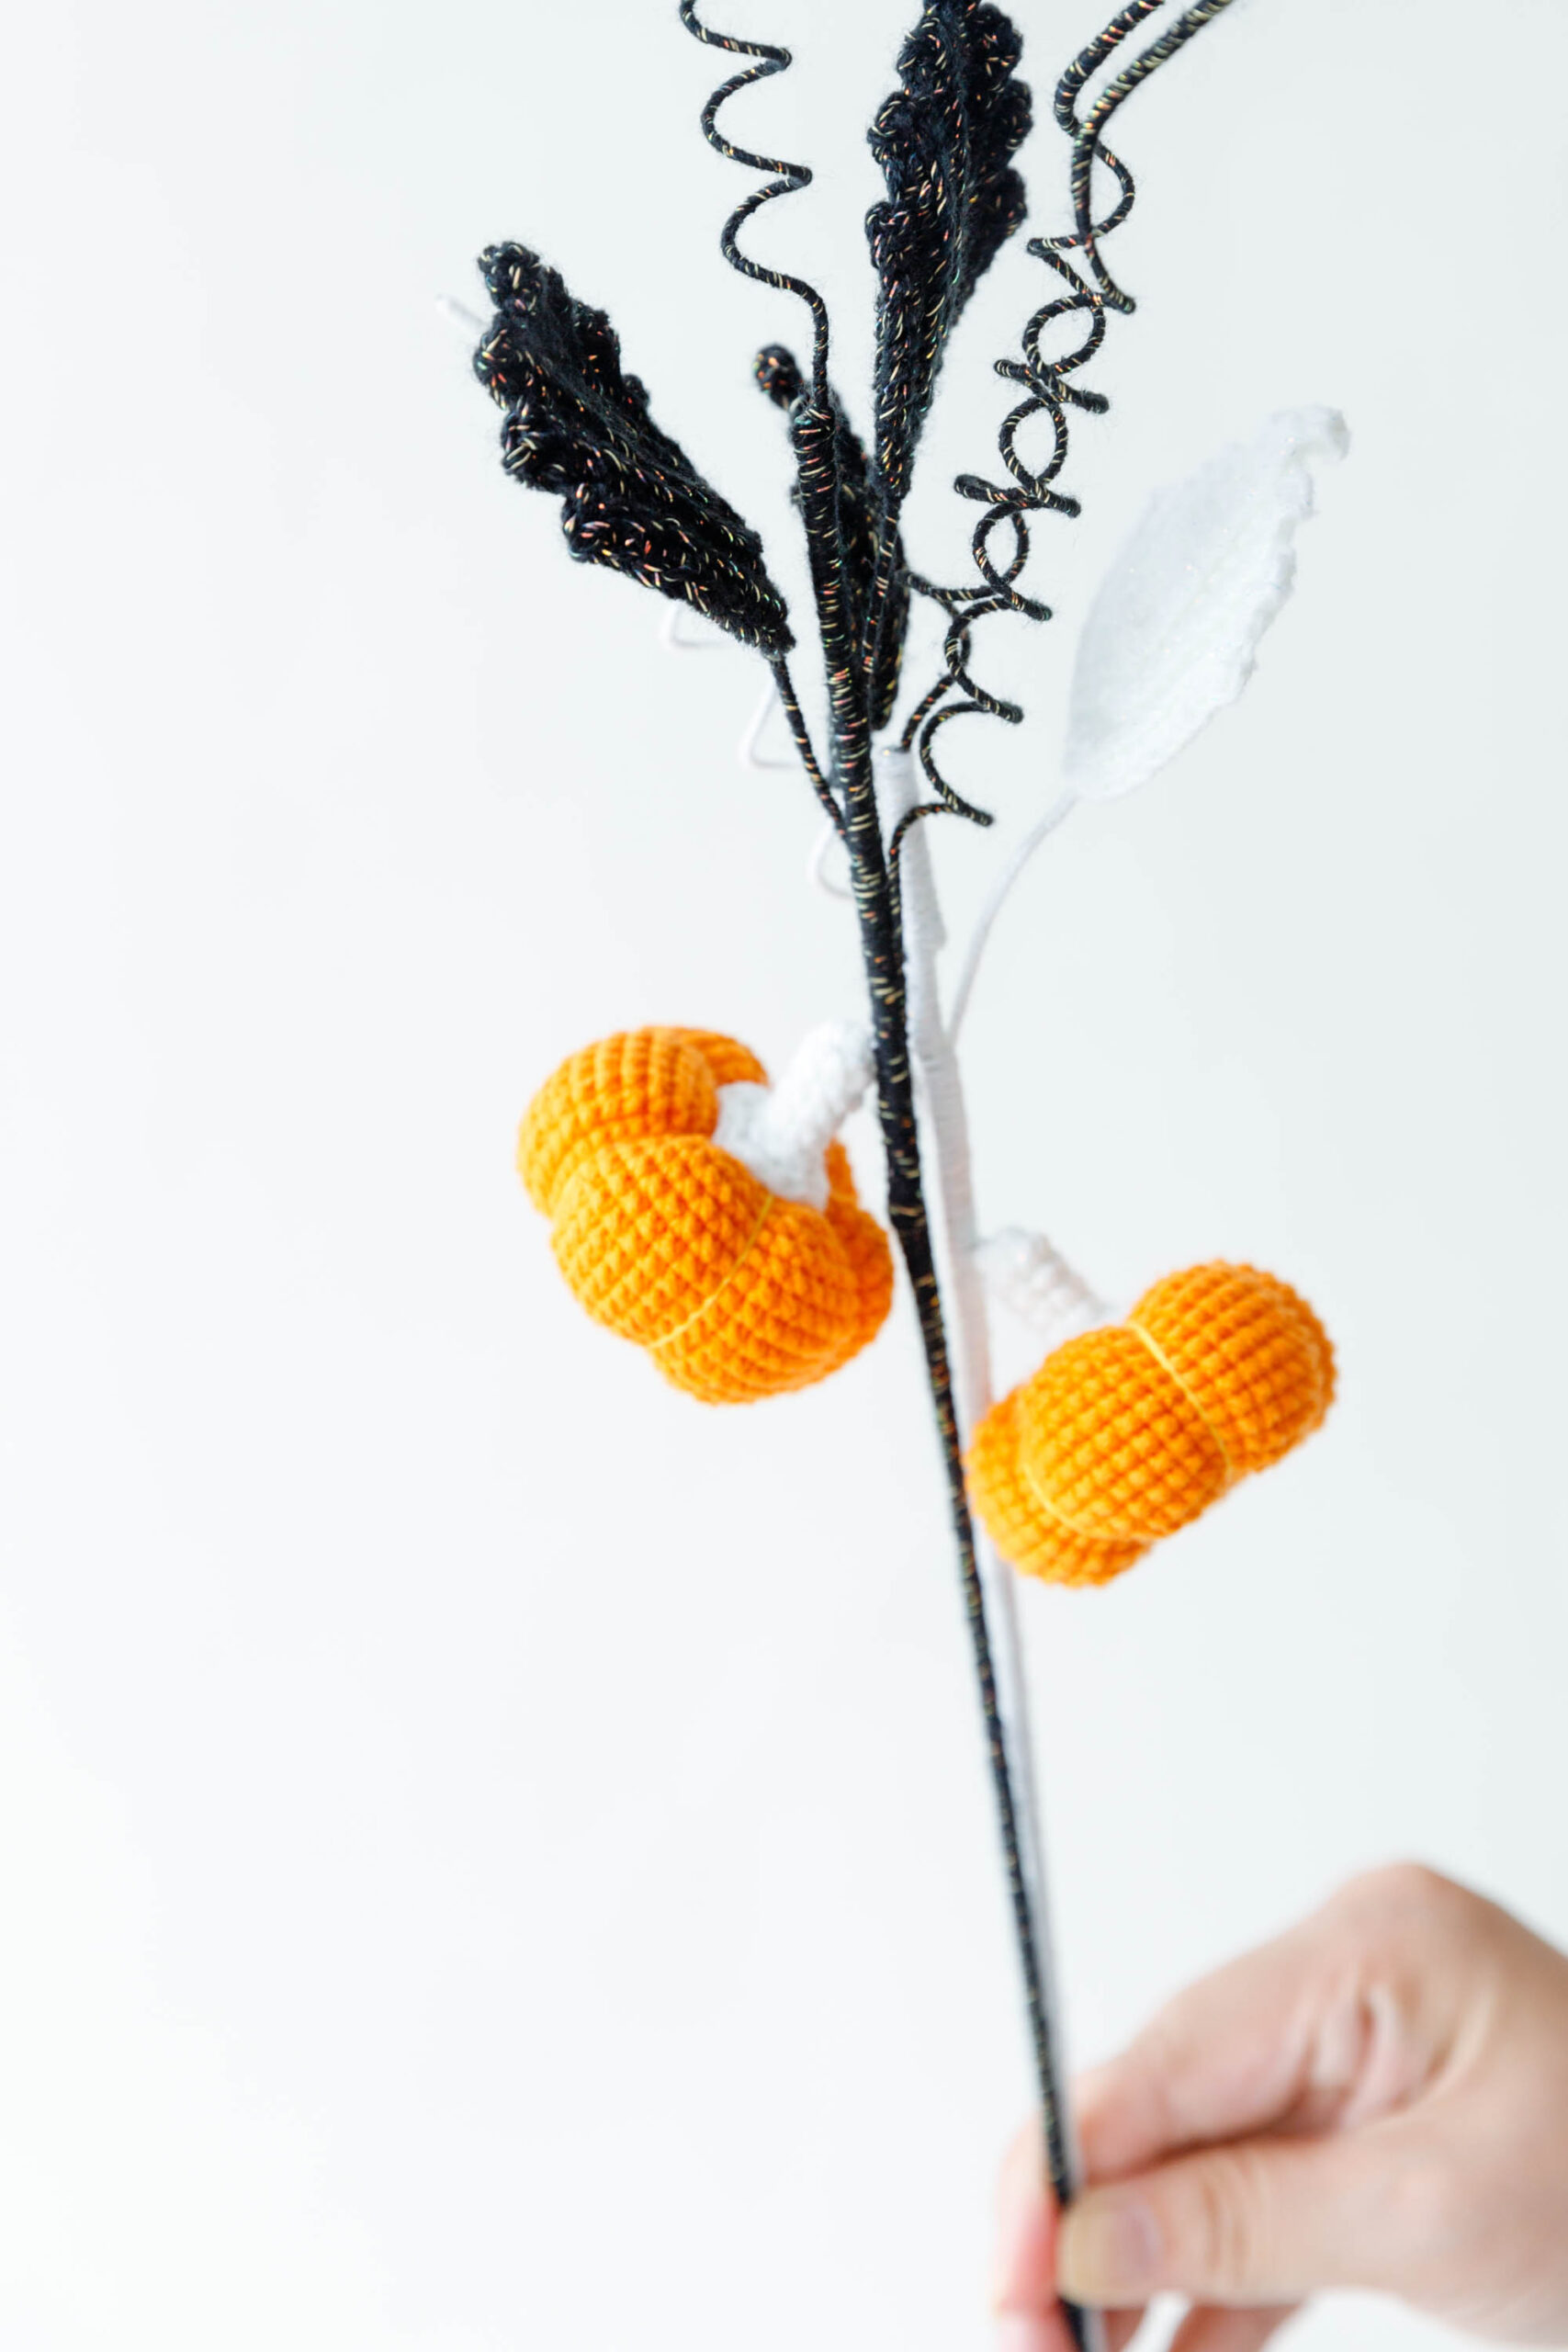
Fall is here and so is Halloween! Check out our new Halloween Pumpkin Bouquet Free Pattern. It’s perfect for those who love both bouquets and Halloween. Dive into our free pattern and start crafting today!
This Crochet Halloween Pumpkin Bouquet Pattern is one of our Halloween collections. We also have other patterns. Check for extra inspiration.
- Crochet Halloween Bat
- Crochet Halloween Devil Pumpkin
- Crochet Halloween Ghosts
- Crochet Halloween Ghosts – Free Pattern
Color Variations
- Color variations are available to match personal preferences or project requirements. Crochet Halloween Pumpkin Bouquet can be a great Halloween gift idea for friends, kids, and more.
- The exquisite appearance of the crochet Halloween Pumpkin Bouquet exudes its unique charm. You can experiment with different yarn colors and textures to create multiple variations of this beautiful design.
- In addition, we also provide 86 colors of cotton yarn for you to choose from. What are you waiting for, crocheters? Grab your hooks, select your favorite yarn, and let’s begin this amazing crochet adventure together.

Starter Kits
We have made you beginner-friendly crochet Halloween bouquet kit which included everything needed for homemade Halloween bouquet. The Ghosts are Made of fluorescent yarns, they can glow green light in the dark. And we provide free patterns and video tutorials for you to follow.

Materials:

- Yarn – orange yarn, luminous white and black yarn
- Hook – 2.0 mm
- Scissors
- Stitch marker
- Darning needle
- Iron wire
- Stuffing cotton
- Flower rod
- Hot melt glue
Stitches and Abbreviation
- ch: Chain stitch.
- sc: Single crochet.
- 2 sc in next st: Increase
- BLO: Back Loops Only
- Sc2tog: Single Crochet 2 Together
- R1, R2, R3, … R23 – Round 1, Round 2 Round 3 …
Special Stitches
- Single Crochet 2 Together (sc2tog): A decrease stitch used to reduce the number of stitches in a round. It involves working two single crochets together.
- Back Loops Only (BLO): When you crochet through only the back loop of the stitch and not both. This technique can create a ribbed texture in your work.
Pattern Notes
- Our pattern is written in US crochet terms.
- Follow the pattern carefully to avoid mistakes.
- Take note of the specific stitch counts and techniques.
- Use stitch markers to mark the beginning of each round.
- Additional notes are written in Italics.
Step-by-Step Crochet Halloween Pumpkin Bouquet Pattern
(Note: ss and ch do not count as stitch count)
Make Pumpkin:
- Start with a magic ring.
- R1: work 8 sc in the round. 1 ss and 1 ch.
- R2: ( 2 sc in next st) * 8 times. 1 ss and 1 ch.
- R3: ( 1 sc, 2 sc in next st) * 8 times. 1 ss and 1 ch.
- R4: ( 2 sc, 2 sc in next st) * 8 times. 1 ss and 1 ch.
- R5: ( 3 sc, 2 sc in next st) * 8 times. 1 ss and 1 ch.
- R6: ( 4 sc, 2 sc in next st) * 8 times. 1 ss and 1 ch.
- R7-15: make 48 sc in each round. 1 ss and 1 ch.
- R16: ( 2 sc, sc2tog,2 sc) * 8 times. 1 ss and 1 ch.
- R17: ( 3 sc, sc2tog) * 8 times. 1 ss and 1 ch.
- R18: ( 1 sc, sc2tog, 1sc) * 8 times. 1 ss and 1 ch.
- R19: ( 1 sc, sc2tog) * 8 times. 1 ss and 1 ch. Add stuffing cotton
- R20: (sc2tog) * 8 times. 1 ss in the first st. Cut off the tail and weave the end.
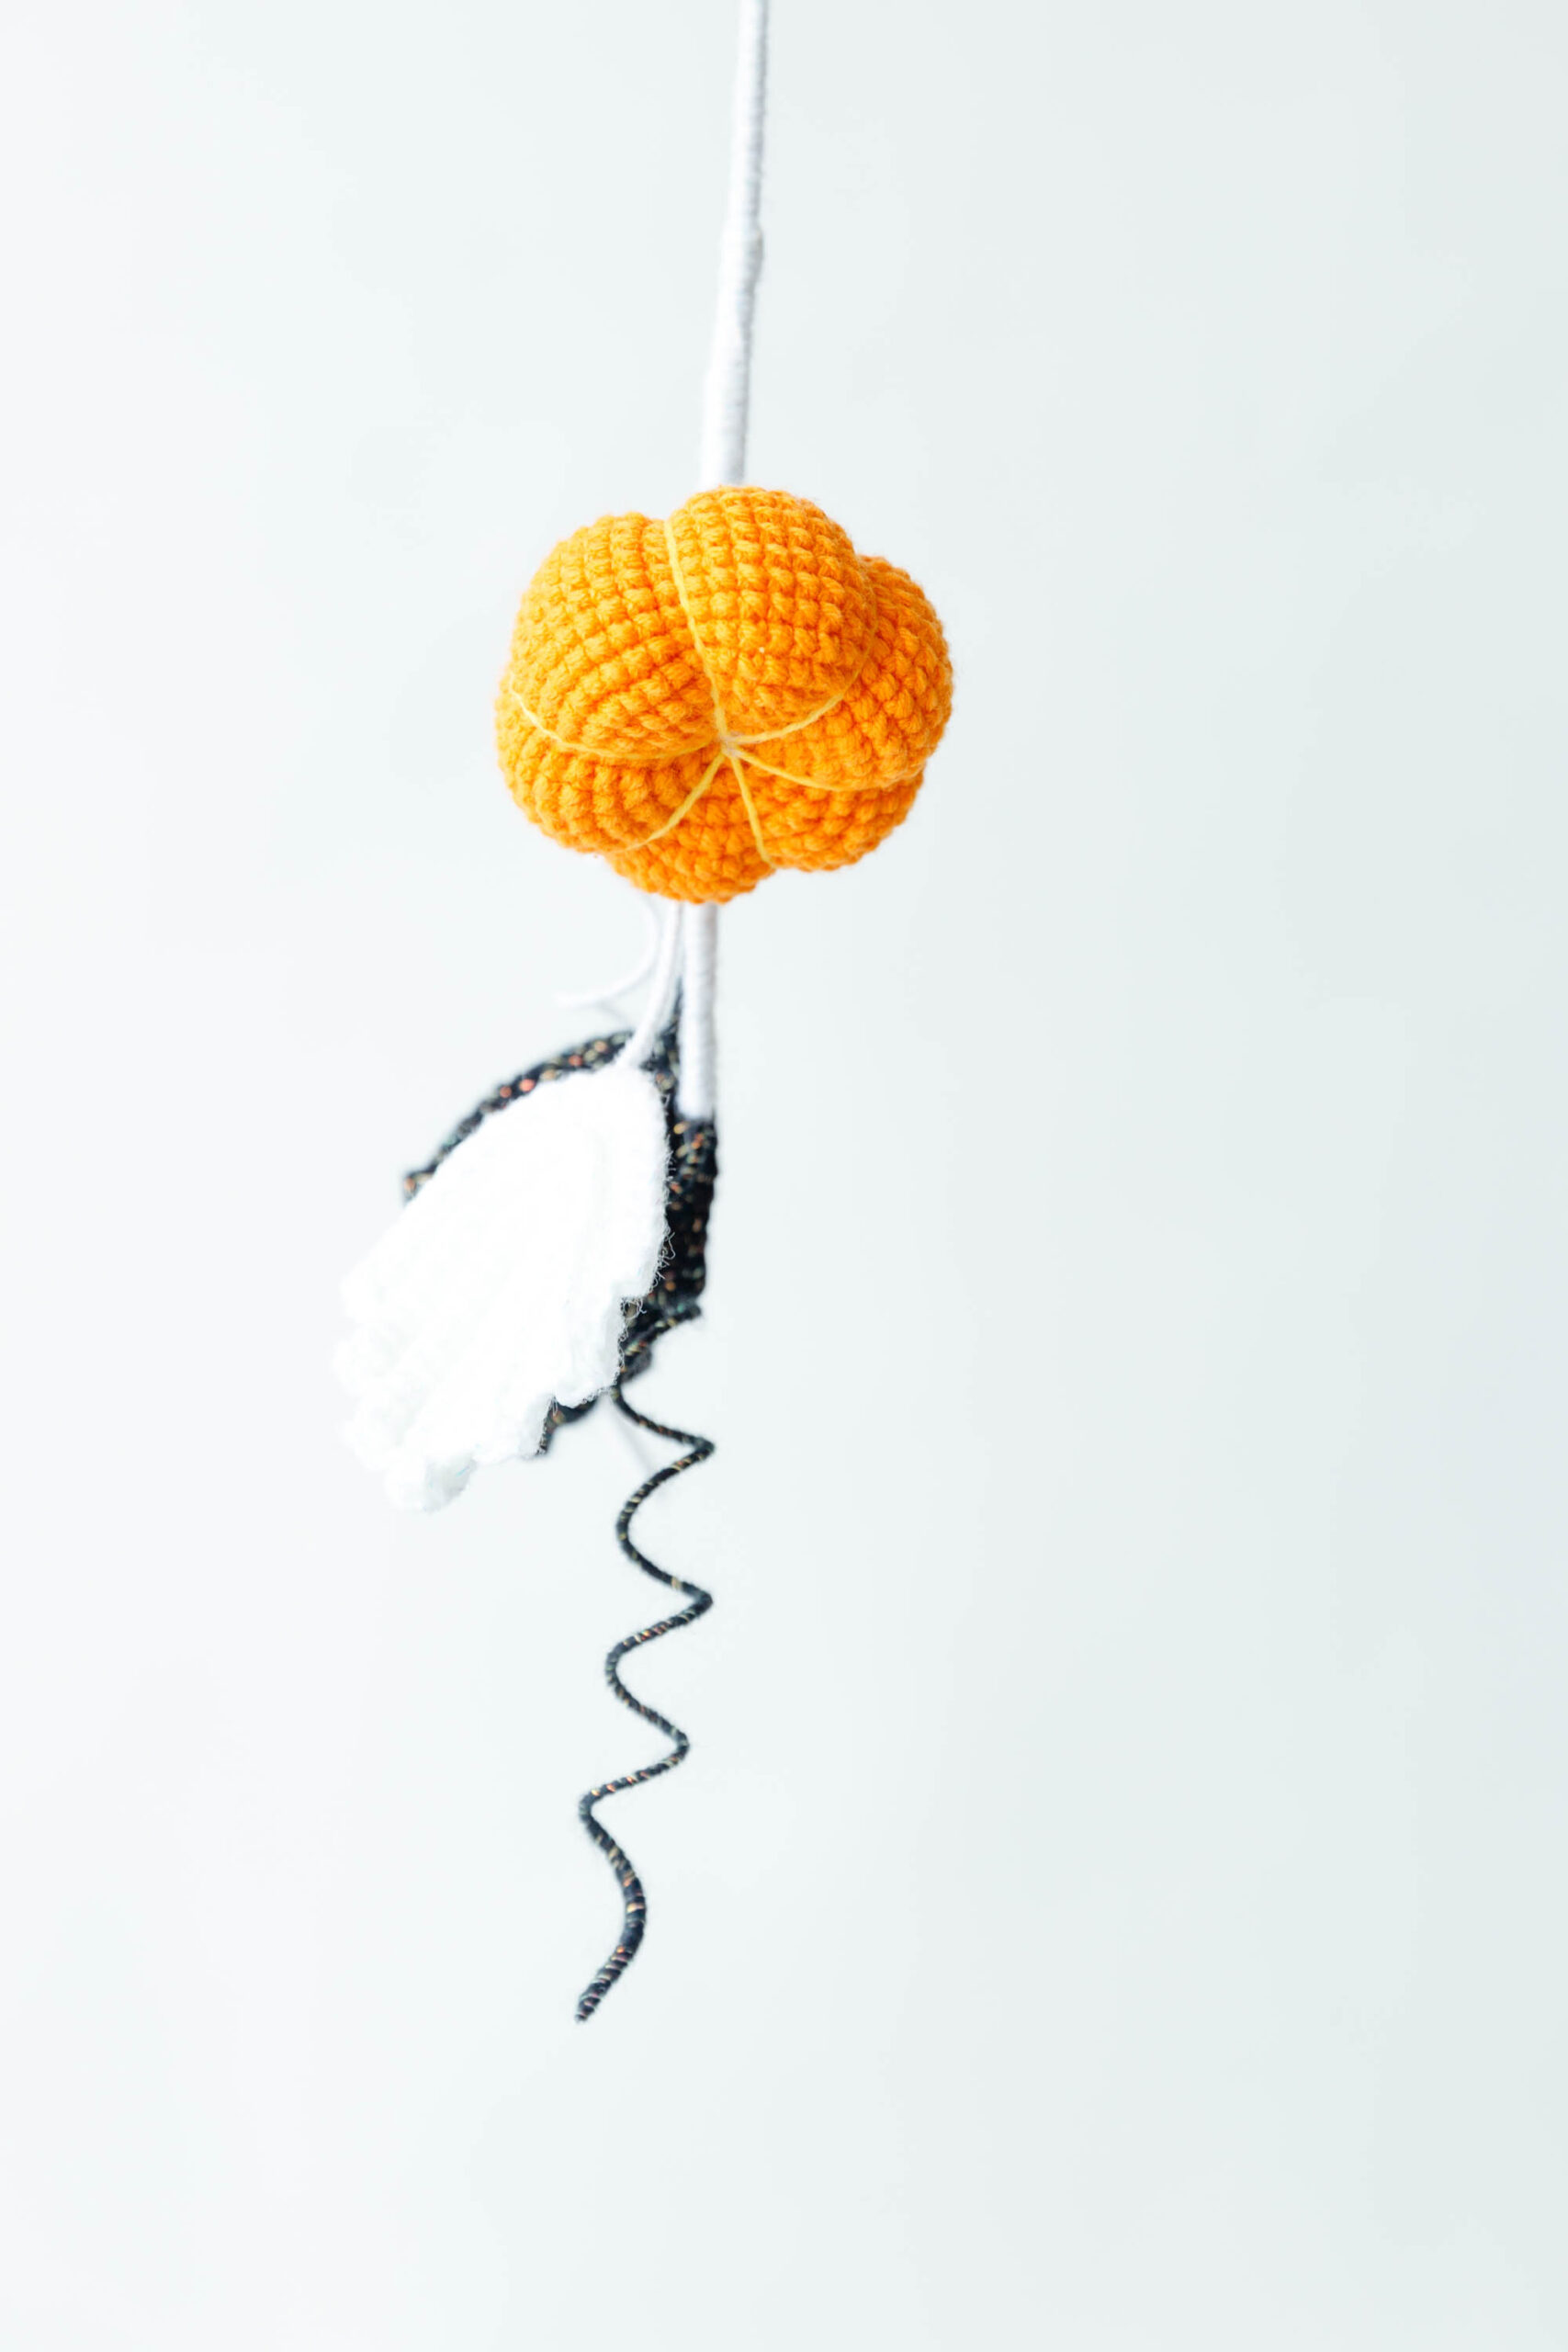
- Use the yellow yarn to sew 6 lines around the ball you just made and pull them tight to form a pumpkin shape.

Pumpkin Stem for Crochet Halloween Pumpkin:
- Start with a magic ring.
- R1: work 6 sc in the round. 1 ss and 1 ch.
- R2-5: make 6 sc in each round. 1 ss and 1 ch.
- R6: ( 2 sc in next st) * 6 times. 1 ss and 1 ch.
- R7: ( 1 sc, 2 sc in next st, 1 sc ) * 4 times. Cut off and leave a long tail.
- Take a piece of wire, tie a knot in the middle with the same color yarn, fold it in half and tighten it, and insert it into the middle of the pumpkin stem.
- Then use a needle to sew the pumpkin stem onto the pumpkin. Use the remaining yarn to wrap the wire to the end.

Make 1 white leaf+ 1 black leaf for Crochet Halloween Pumpkin Bouquet:
- R1: start with the foundation chain: 14 ch
- R2: starting with the second chain from your hook, crochet 12 sc, 3 sc in the same st, then work 10 sc.
- R3: work 1 ch, turn, work back loops only (BLO): make 11 sc, 3 sc in the same st; 10 sc.
- R4-6: Repeat R3
- R7: add wire, Repeat R3. Finally, work 1 ch, cut and leave a long tail. hide the tail and wrap it around the wire.

(See the video for a more detailed Free Pattern of the crocheted Halloween Pumpkin Bouquet)
How to Assemble Crochet Crochet Halloween Pumpkin Bouquet
- Step 1: Take a piece of wire, wrap the yarn around the wire to the desired length, and fix the tail with hot melt glue.
- Step 2: Take a wooden stick or pen, wrap the wire around it in a spiral shape and take it out.

- Step 3: First, ensure you have all necessary materials on hand. Take a flower rod and start wrapping it with luminous white yarn. Add leaves and pumpkin in turn. When finished, use a hot melt adhesive to fasten the end of the yarn, ensuring everything stays in place.

(See the video for a more detailed Free Pattern of the crocheted Halloween Pumpkin Bouquet)
Afterthoughts and Wrap Up
Our Crochet Halloween Pumpkin Bouquet Free Pattern is a fun and festive way to celebrate the season. Whether you’re new to crocheting or a seasoned expert, this pattern is easy to follow and sure to add a special touch to your Halloween décor. Give it a try and enjoy your handmade Halloween bouquet!
If you like our pattern, please give us a 5 star. We love your feedback.

Crochet Halloween Pumpkin Bouquet Pattern
Equipment
- hook 2.0 mm
- scissors
- stitch marker
- Darning needle
Ingredients
- Yarn orange yarn, luminous white and black yarn
- Iron wire
- Stuffing cotton
- Flower rod
- Hot melt glue
Instructions
Pumpkin:
- Start with a magic ring.
- R1: work 8 sc in the round. 1 ss and 1 ch.
- R2: ( 2 sc in next st) * 8 times. 1 ss and 1 ch.
- R3: ( 1 sc, 2 sc in next st) * 8 times. 1 ss and 1 ch.
- R4: ( 2 sc, 2 sc in next st) * 8 times. 1 ss and 1 ch.
- R5: ( 3 sc, 2 sc in next st) * 8 times. 1 ss and 1 ch.
- R6: ( 4 sc, 2 sc in next st) * 8 times. 1 ss and 1 ch.
- R7-15: make 48 sc in each round. 1 ss and 1 ch.
- R16: ( 2 sc, sc2tog,2 sc) * 8 times. 1 ss and 1 ch.
- R17: ( 3 sc, sc2tog) * 8 times. 1 ss and 1 ch.
- R18: ( 1 sc, sc2tog, 1sc) * 8 times. 1 ss and 1 ch.
- R19: ( 1 sc, sc2tog) * 8 times. 1 ss and 1 ch. Add stuffing cotton
- R20: (sc2tog) * 8 times. 1 ss in the first st. Cut off the tail and weave the end.
- Use the yellow yarn to sew 6 lines around the ball you just made and pull them tight to form a pumpkin shape.
Pumpkin Stem:
- Start with a magic ring.
- R1: work 6 sc in the round. 1 ss and 1 ch.
- R2-5: make 6 sc in each round. 1 ss and 1 ch.
- R6: ( 2 sc in next st) * 6 times. 1 ss and 1 ch.
- R7: ( 1 sc, 2 sc in next st, 1 sc ) * 4 times. Cut off and leave a long tail.
- Take a piece of wire, tie a knot in the middle with the same color yarn, fold it in half and tighten it, and insert it into the middle of the pumpkin stem.
- Then use a needle to sew the pumpkin stem onto the pumpkin. Use the remaining yarn to wrap the wire to the end.
2 Leaves:
- R1: start with the foundation chain: 14 ch
- R2: starting with the second chain from your hook, crochet 12 sc, 3 sc in the same st, then work 10 sc.
- R3: work 1 ch, turn, work back loops only (BLO): make 11 sc, 3 sc in the same st; 10 sc.
- R4-6: Repeat R3
- R7: add wire, Repeat R3. Finally, work 1 ch, cut and leave a long tail. hide the tail and wrap it around the wire.
2 Flower whiskers:
- Step 1: Take a piece of wire, wrap the yarn around the wire to the desired length, and fix the tail with hot melt glue.
- Step 2: Take a wooden stick or pen, wrap the wire around it in a spiral shape and take it out.
Assemble:
- Step 1: First, ensure you have all necessary materials on hand. Take a flower rod and start wrapping it with luminous white yarn. Add leaves and pumpkin in turn.
- Step 2: When finished, use a hot melt adhesive to fasten the end of the yarn, ensuring everything stays in place.
Video
Notes
- Our pattern is written in US crochet terms.
- Follow the pattern carefully to avoid mistakes.
- Take note of the specific stitch counts and techniques.
- Use stitch markers to mark the beginning of each round.
- Additional notes are written in Italics.


