
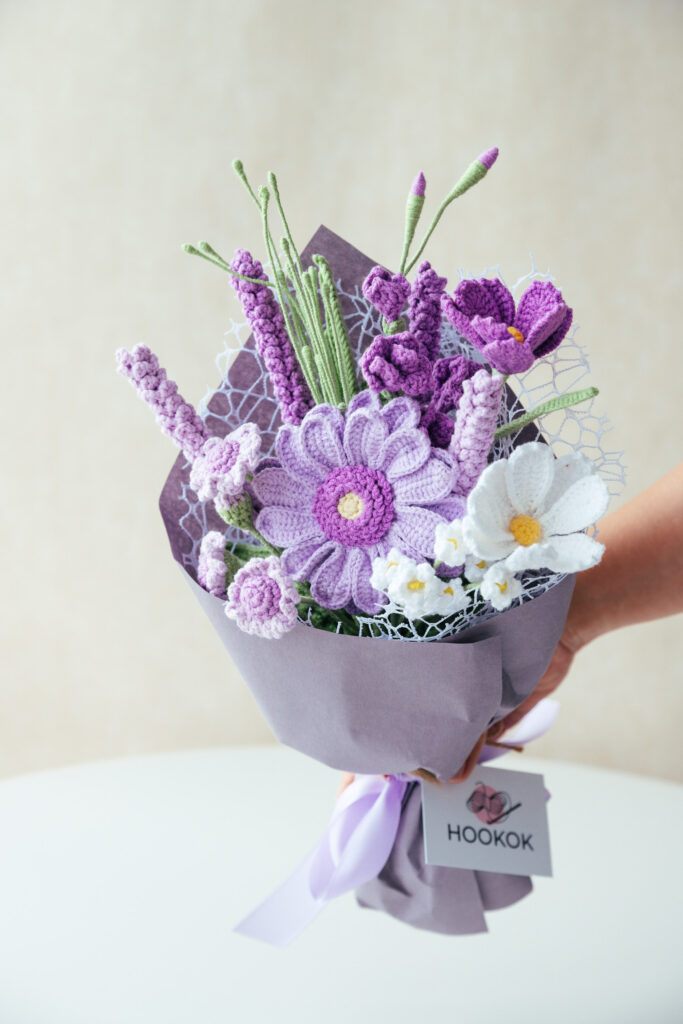
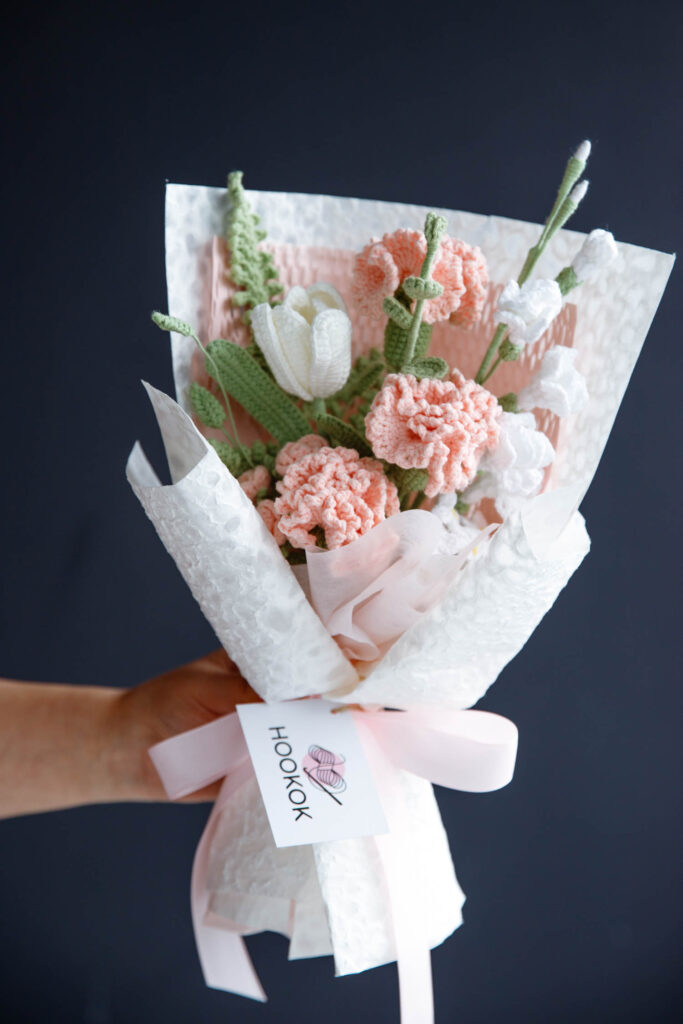
If you’re looking to create something charming and delightful, why not learn how to crochet a freesia flower? Don’t worry if you’re new to crochet – this guide is here to help you step by step. Gather your supplies and let’s get started!

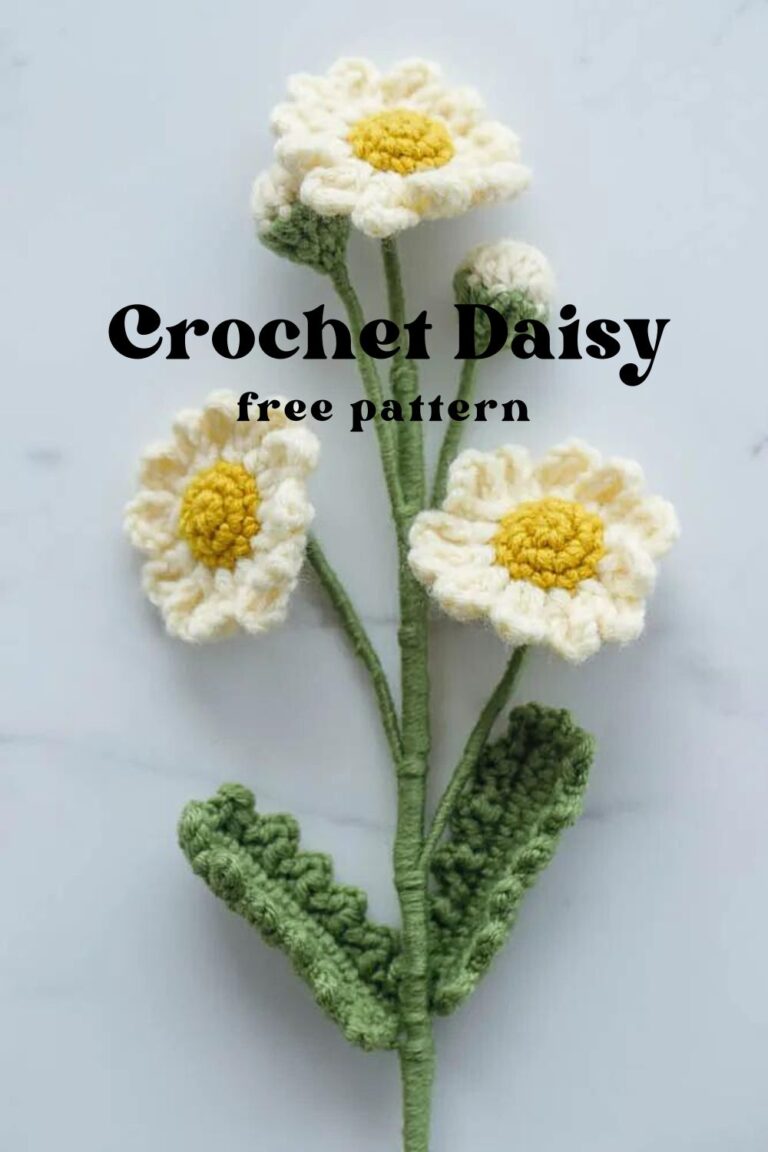
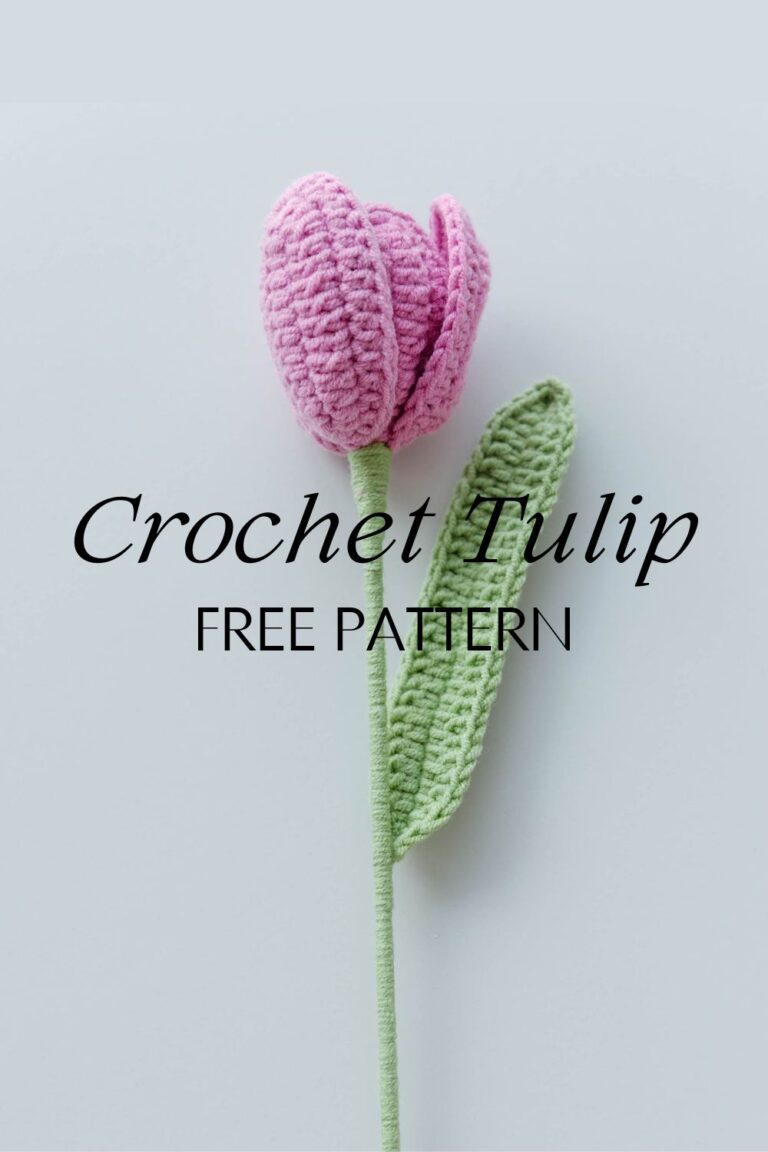
If you’d like to learn to crochet other flowers to go with your bouquet, we have plenty of free tutorials for that too. Pattern list link.
- Crochet Sunflower
- Crochet 3D Rose Free Pattern
- Crochet Thai Rose
- Crochet Small Rose
- Crochet Cappuccino Rose- Free Pattern
- Crochet Memorial Rose – Free pattern
Color Variations
- 1. Color variations are available to match personal preferences or project requirements. Crochet freesia its charming look, making it ideal for creating lasting keepsakes or gifts for loved ones.
- 2. White freesia is the most classic color, and there are also yellow, pink, purple, blue, red, etc. So you can try different colors to create a unique freesia flower.
- 3. In addition, we provide 86 colors of cotton yarn for you to choose from. What are you waiting for, crocheters? Grab your hooks, select your favorite yarn, and let’s begin this amazing crochet adventure together.

Starter Kits
We have made you a beautiful crochet freesia flower starter kit which included everything needed for homemade freesia flower. With this package, you can make a freesia flower bouquet containing 5 freesia flowers.

Materials for crochet freesia flower
- Yarn- pink and green
- Crochet hook-2.0mm
- Scissors
- Darning needle
- Stitch marker
- Flower rod – 30 cm length
- Iron wire- 0.5 mm
- Hot melt adhesive
Stitches and Abbreviation
- sc: Single Crochet
- hdc: Half Double Crochet
- dc: Double Crochet
- tr: Treble Crochet
- ch: Chain Stitch
- ss: Slip Stitch
- Picot St: Picot St
Special Stitches
- Picot st: This is a decorative stitch often used to create a small loop or point in crochet. It’s made by chaining a certain number of stitches and then slip stitching back into the first chain, creating a loop.
Pattern Notes
- Our pattern is written in US crochet terms.
- Follow the pattern carefully to avoid mistakes.
- Take note of the specific stitch counts and techniques.
- Our pattern requires some attention to detail.
- Use stitch markers to mark the beginning of each round.
- Additional notes are written in Italics.
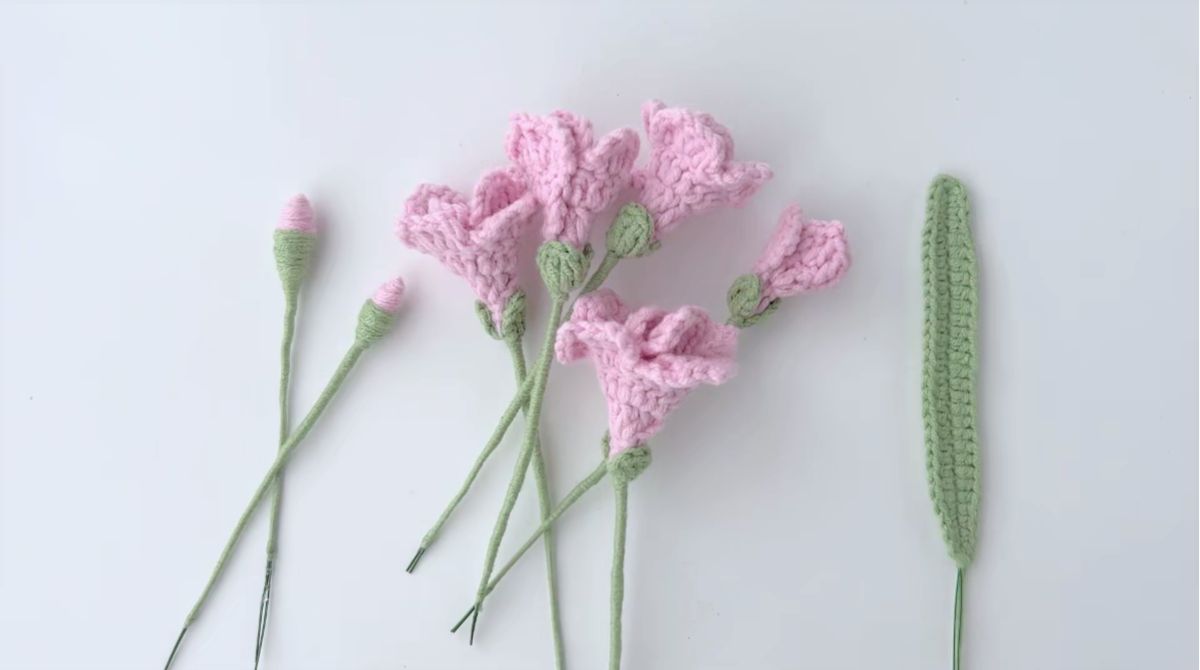
Step-by-Step Crochet Freesia Flower Patterns
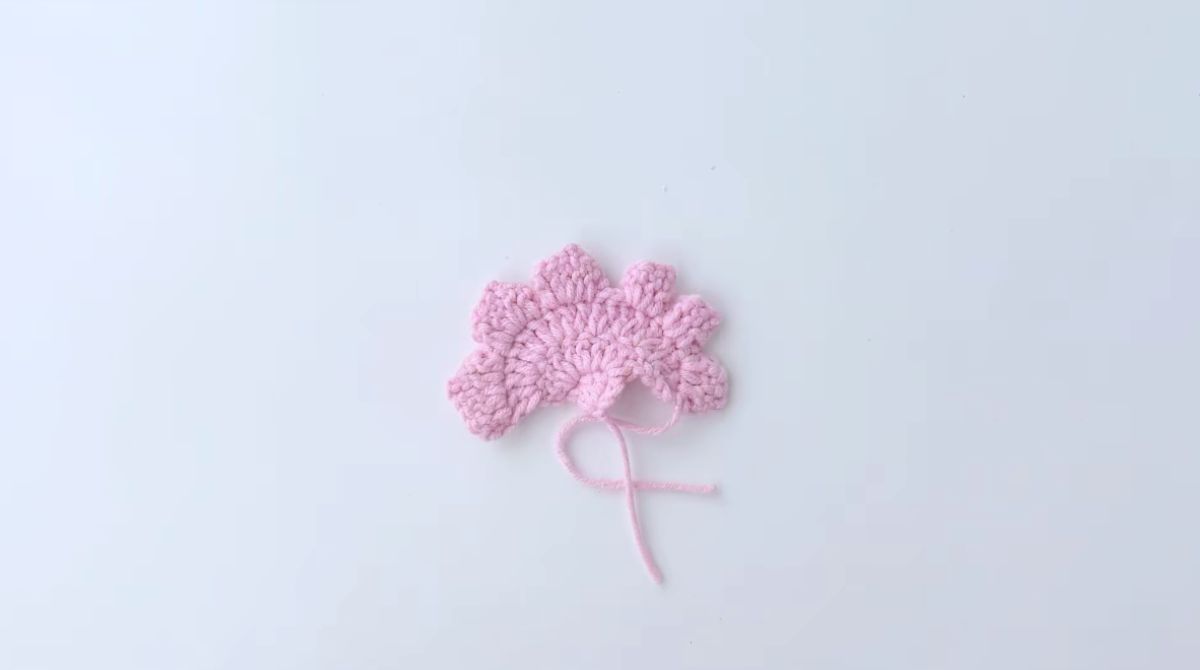
Big flower of crochet freesia flower:
- R1: Start with 4 ch, then from 1st st of the hook, work 3 dc and turn.
- R2: 3 ch, then work (3 dc in same st) *3 times and turn.
- R3: 3 ch, then work ( 2 dc in same st) *9 times and turn.
- R4: Big petal of Freesia Flower: Start with ( in same st: 4 ch, 1 tr), and followed by ( in same st: 2 tr in next st, and 1 picot st); 1 tr in next st; ( in same st: 1 tr, 4 ch, 1 ss).
- Middle petal Freesia Flower: Start with {( in same st: 1 ss, 4 ch, 1 tr); followed by ( in same st: 2 tr in next st, 1 picot st, 1 tr ); ( in same st: 1 tr, 4 ch, 1 ss )} *2 times. and 2 ss.
- Small petal Freesia Flower: Start with {( in same st: 1 ss, 4 ch, 2 tr in next st, 1 picot st ), and followed by( in same st: 1 tr, 4 ch, 1 ss )} *3 times. 1 ch, cut and weave the ends.

Make 3 middle flowers of crochet freesia flower:
- R1: start with 4 ch, from 1st st of hook, 3 dc, turn
- R2: 3 ch, (3 dc in same st) *3 times, turn
- R3: 3 ch, ( 2 dc in same st) *9 times, turn
- R4: Big petal: Start with ( in same st: 2 ch, 1 dc ); followed by ( in same st: 2 dc in next st, 1 picot st ); 1 dc in next st, and ( in same st: 1 dc, 2 ch, 1 ss).
- Middle petal: Start with {( in same st:1 ss, 2 ch, 1 dc), followed by ( in same st: 2 dc in next st, 1 picot st, 1 dc ); ( in same st:1 dc, 2 ch, 1 ss )} *2 times. and 2 ss.
- Small petal: Start with {( in same st: 1 ss, 2 ch, 2 dc in next st, and 1 picot st ); followed by( in same st: 1 dc, 2 ch, 1 ss) } *3 times. 1 ch, cut and weave the ends.
Small flower of crochet freesia flower:
- R1: start with 4 ch, from 1st st of hook, 3 dc, turn
- R2: 3 ch, (3 dc in same st) *3 times, turn
- R3: {( in same st: 2 ch, 1 dc); ( 1 dc and 1 picot st); ( in same st: 1 dc, 2 ch, 1 ss)} * 2 times;
- ( in same st: 1 ss, 2 ch, 1 dc); (1 dc, 1 picot st); ( in same st: 1 dc, 2 ch, 1 ss). work 1 ch, cut and weave the ends.

Flower Sepal for crochet freesia flower:
- Start with a magic ring.
- R1: Work ( 2 ch, 2 dc, 3 ch, 1 ss in the ring) *2 times. 1 ch. cut yarn and close the loop tightly.
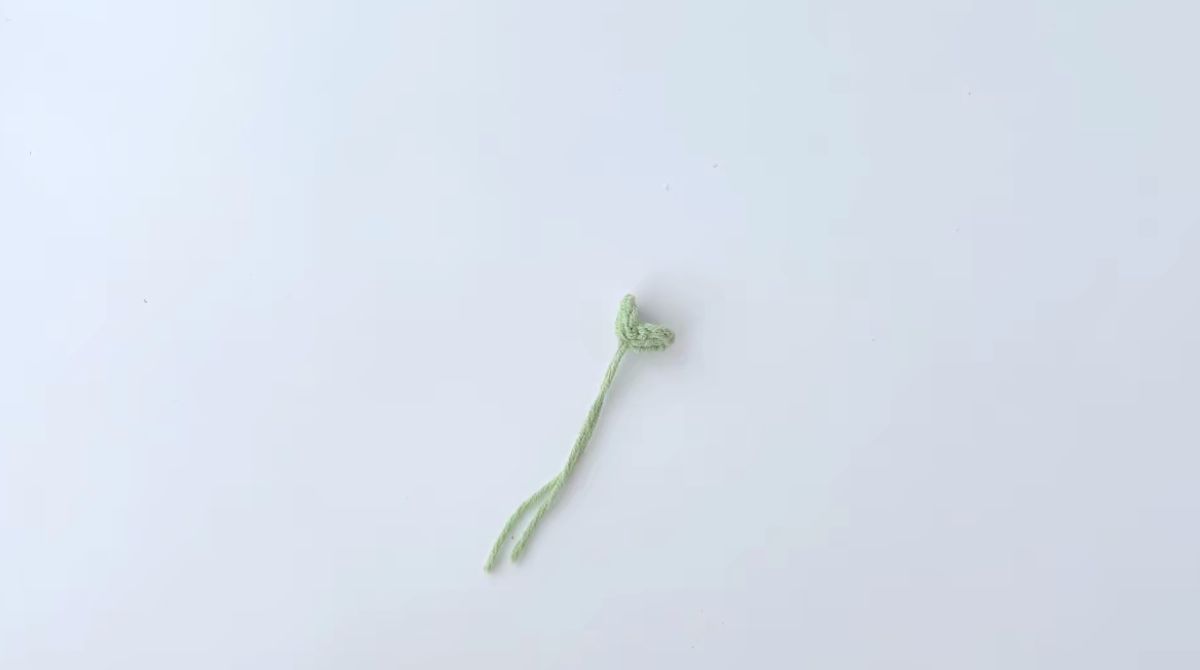
Make 2 buds for crochet freesia flower:
- Step 1: Take out a piece of wire and fold it in half, tie a knot in the middle with pink yarn, and then wrap it around to make a bud.
- Step 2: Wrap green yarn from the middle of the bud to the stem, and fix the tail with hot melt glue

Leaf for crochet freesia flower:
- Start with the foundation chain: 30 ch;
- R1: Add a wire and then start with the second chain from the hook, crochet 4 sc, 21 hdc, 3 sc; (3 sc in same st); work on the other side, 3 sc, 21 hdc, and 4 sc. 1 ss in the first st, cut and leave a tail.

How to Assemble Crochet Freesia Flower:
- Step 1: Gather the crocheted Freesia Flower and the sepal.
- Step 2: Take a wire and place it at the center of the flower. Arrange the crocheted Freesia flower evenly around the wire. Use a hot melt glue to securely attach the flower to the wire.

- Step 3: Attach the flower sepals to the bottom of the crocheted Freesia flower. Make sure they are evenly positioned. Use hot melt glue to secure the sepals in place.
- Step 4: Use the same yarn as used for crocheting to wrap around the wire. This will give it a neat and finished look.
- Step 5: Take the flower rod and place all the crocheted components onto it. Wrap the flower rod with the same yarn to make it look presentable. For more detailed instructions, you can refer to the instructional video.

Afterthoughts and Wrap Up
Creating the Freesia flower reveals its delicate beauty and vibrant colors. Simplicity adds elegance to every stitch, and you can also experiment with different colors to match your decor perfectly. Give our pattern a try—happy crocheting!

If you like our pattern, please give us a 5 star. We love your feedback.

Crochet Freesia Flower – Free Pattern
Equipment
- crochet hook 2.0mm
- scissors
- Darning needle
- stitch marker
Ingredients
- Yarn- pink and green
- Flower rod – 30 cm length
- Iron wire- 0.5 mm
- Hot melt adhesive
Instructions
Big flower*3: (pink)
- R1: Start with 4 ch, then from 1st st of the hook, work 3 dc and turn.
- R2: 3 ch, then work (3 dc in same st) *3 times and turn.
- R3: 3 ch, then work ( 2 dc in same st) *9 times and turn.
- R4: Big petal of Freesia Flower: Start with ( in same st: 4 ch, 1 tr), and followed by ( in same st: 2 tr in next st, and 1 picot st); 1 tr in next st; ( in same st: 1 tr, 4 ch, 1 ss).
- Middle petal: Start with {( in same st: 1 ss, 4 ch, 1 tr); followed by ( in same st: 2 tr in next st, 1 picot st, 1 tr ); ( in same st: 1 tr, 4 ch, 1 ss )} *2 times. and work 2 ss.
- Small petal: Start with {( in same st: 1 ss, 4 ch, 2 tr in next st, 1 picot st ), and followed by( in same st: 1 tr, 4 ch, 1 ss )} *3 times. 1 ch, cut and weave the ends.
Middle flowers*3: (pink)
- R1: start with 4 ch, from 1st st of hook, 3 dc, turn
- R2: 3 ch, (3 dc in same st) *3 times, turn
- R3: 3 ch, ( 2 dc in same st) *9 times, turn
- R4: Big petal: Start with ( in same st: 2 ch, 1 dc ); followed by ( in same st: 2 dc in next st, 1 picot st ); 1 dc in next st, and ( in same st: 1 dc, 2 ch, 1 ss).
- Middle petal: Start with {( in same st:1 ss, 2 ch, 1 dc), followed by ( in same st: 2 dc in next st, 1 picot st, 1 dc ); ( in same st:1 dc, 2 ch, 1 ss )} *2 times. and work 2 ss.
- Small petal: Start with {( in same st: 1 ss, 2 ch, 2 dc in next st, and 1 picot st ); followed by( in same st: 1 dc, 2 ch, 1 ss) } *3 times. 1 ch, cut and weave the ends.
Small flower*3: (pink)
- R1: start with 4 ch, from 1st st of hook, 3 dc, turn
- R2: 3 ch, (3 dc in same st) *3 times, turn
- R3: {( in same st: 2 ch, 1 dc); ( 1 dc and 1 picot st); ( in same st: 1 dc, 2 ch, 1 ss)} * 2 times;
- ( in same st: 1 ss, 2 ch, 1 dc); (1 dc, 1 picot st); ( in same st: 1 dc, 2 ch, 1 ss). work 1 ch, cut and weave the ends.
Flower Sepal: (green)
- Start with a magic ring.
- R1: Work ( 2 ch, 2 dc, 3 ch, 1 ss in the ring) *2 times. 1 ch. cut yarn and close the loop tightly.
2 Buds: (pink+green)
- Step 1: Take out a piece of wire and fold it in half, tie a knot in the middle with pink yarn, and then wrap it around to make a bud.
- Step 2: Wrap green yarn from the middle of the bud to the stem, and fix the tail with hot melt glue.
Leaf:
- Start with the foundation chain: 30 ch;
- Add a wire and then start with the second chain from the hook, crochet 4 sc, 21 hdc, 3 sc; (3 sc in same st); work on the other side, 3 sc, 21 hdc, and 4 sc. 1 ss in the first st, cut and leave a tail.
Assemble:
- Step 1: Gather the crocheted Freesia Flower and the sepal.
- Step 2: Take a wire and place it at the center of the flower. Arrange the crocheted Freesia flower evenly around the wire. Use a hot melt glue to securely attach the flower to the wire.
- Step 3: Attach the flower sepals to the bottom of the crocheted Freesia flower. Make sure they are evenly positioned. Use hot melt glue to secure the sepals in place.
- Step 4: Use the same yarn as used for crocheting to wrap around the wire. This will give it a neat and finished look.
Video
Notes
- Our pattern is written in US crochet terms.
- Follow the pattern carefully to avoid mistakes.
- Take note of the specific stitch counts and techniques.
- Our pattern requires some attention to detail.
- Use stitch markers to mark the beginning of each round.
- Additional notes are written in Italics.
What’s Next?
Pin this post: Save this tutorial to your Pinterest boards so that you can come back to it later.
Leave a comment: We love to hear your feedback. Tell me in the comments below!
Share on Instagram or Facebook or Youtube: When you make this project, share it on social media and tag me @hookokcrochet. We love to see what you make!


Bravo, this magnificent phrase is necessary just by the way
Very gald to hear these, Happy crocheting!
I think, that you are mistaken. I can defend the position. Write to me in PM, we will communicate.
Which step do you have questions about?
I’m in love with the end result!
Thanks for the complete information. You helped me.
Thank you very much for sharing this beautiful flower pattern
Bellissimo
Your written instructions don’t match the video instructions. Also it might be better to indicate in writing how your picot stitch should be done, because the standard picot is usually 3 chains, not 1. I feel it should not be necessary to watch the video to get the correct instructions. Beautiful flowers otherwise, though.
Sorry, our pattern has been rewritten, please try again.
Beautiful 😍 must make.
What a stunning crochet design! Your freesia looks amazing, and I’ve showcased your pattern on Crafts on Display – hope you enjoy it! https://craftsondisplay.com/crochet/realistic-freesia-flower-151262/
Looking forward to trying this one.
So beautiful each one created is a stunner. I’ve just done freesia and it’s so pretty. Clear instructions and back up video.
thankyou your pattern so nice
What is the yarn weight I don’t see where it is specified?
Hello,
I was wondering what type of yarn you use for this pattern?
Thanks you,
Hannah
This is our yarn,https://hookok.com/collections/yarn/
अतिशय सोप्या पद्धतीने स्टेप बाय स्टेप माहिती दिली आहे. सोबत फोटो दिलेले असल्याने नवशिके सुद्धा छान फुले करू शकतात.
Mooi om te maken en ben bezig om een boeket samen te stellen voor een bejaarde tehuis waar mijn dochter werkt hebt al veel gehaakt van jullie site
Dank jullie wel voor het patroon
Glad you like it
Hello, I was just wondering what yarn weight you use for this pattern? (2ply, 3ply, 4ply?)
We used 4ply cotton yarn, this is our yarn,https://hookok.com/product/yarn-hookok/