
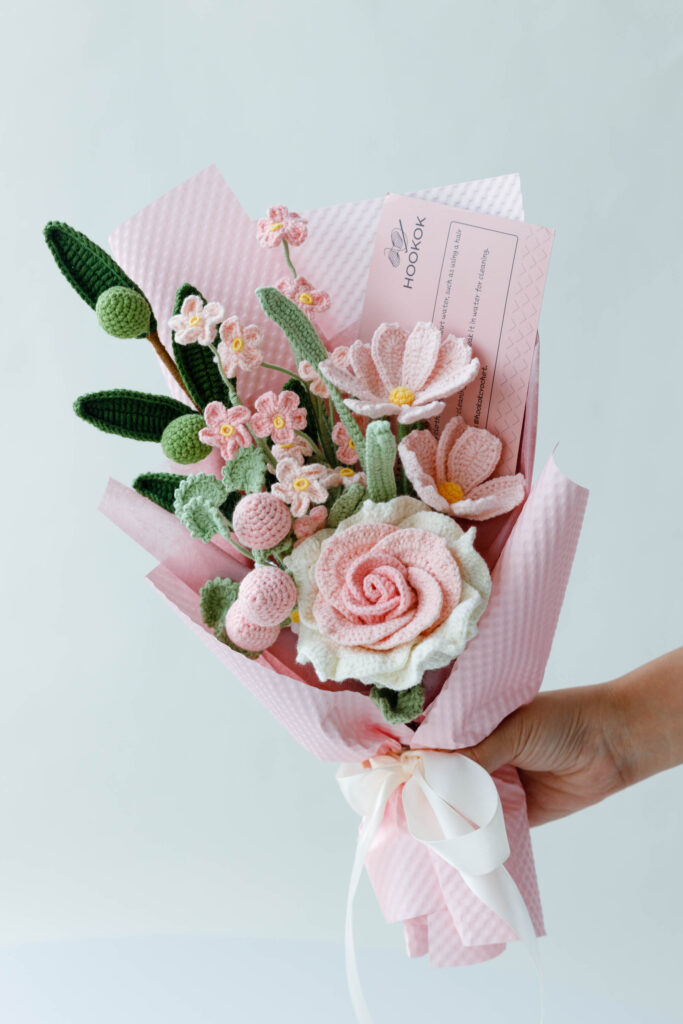
Our journey today unveils the intricacies of crochet Aisha Rose Free Pattern – a symbol of nature’s elegance crafted through your hands. We invite you to explore with us this new free pattern. Let’s get started!
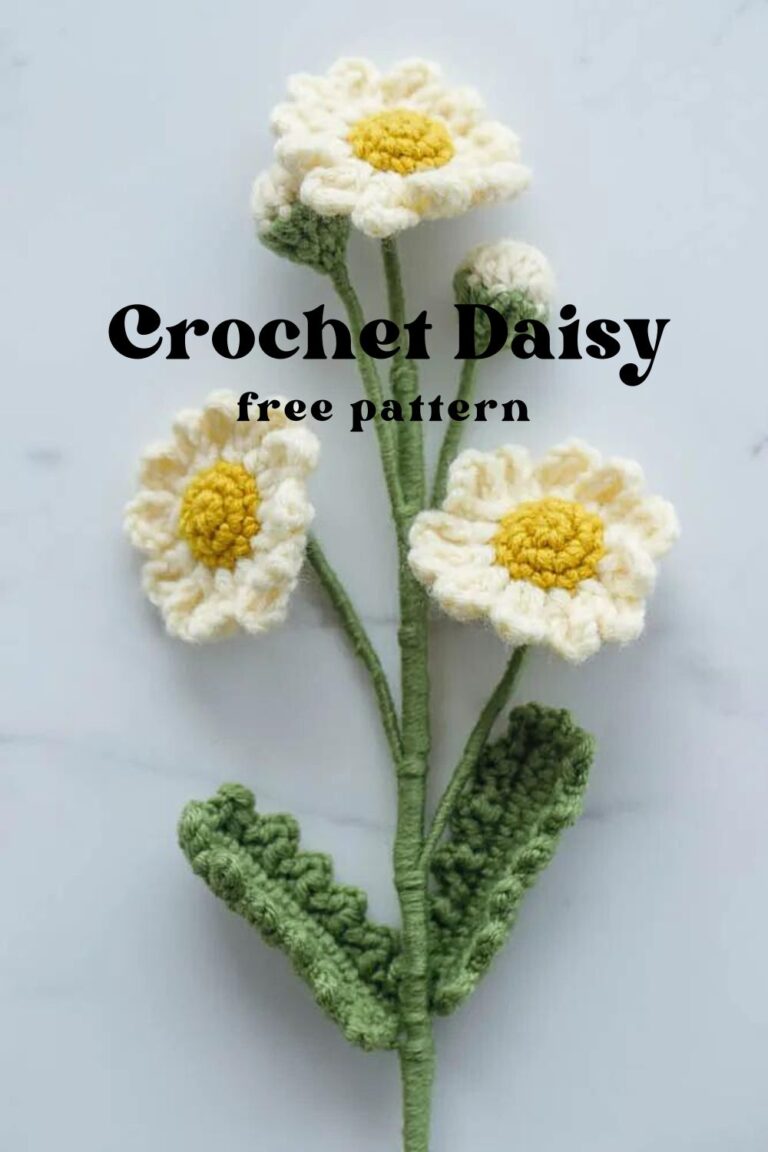
We have lots of other free patterns for crochet flowers that can be used with bouquets, and you can try crocheting them too. Pattern list link.

This Crochet Aisha Rose is one of our rose collections. We also have other patterns. Check for extra inspiration.
- Crochet 3D Rose Free Pattern
- Crochet Thai Rose
- Crochet Small Rose
- Crochet Cappuccino Rose- Free Pattern
- Crochet Memorial Rose – Free pattern
Color Variations
- 1. Color variations are available to match personal preferences or project requirements. Crochet Aisha rose can be a great gift idea for any occasion such as Valentine’s Day, Mother’s Day, and anniversaries.
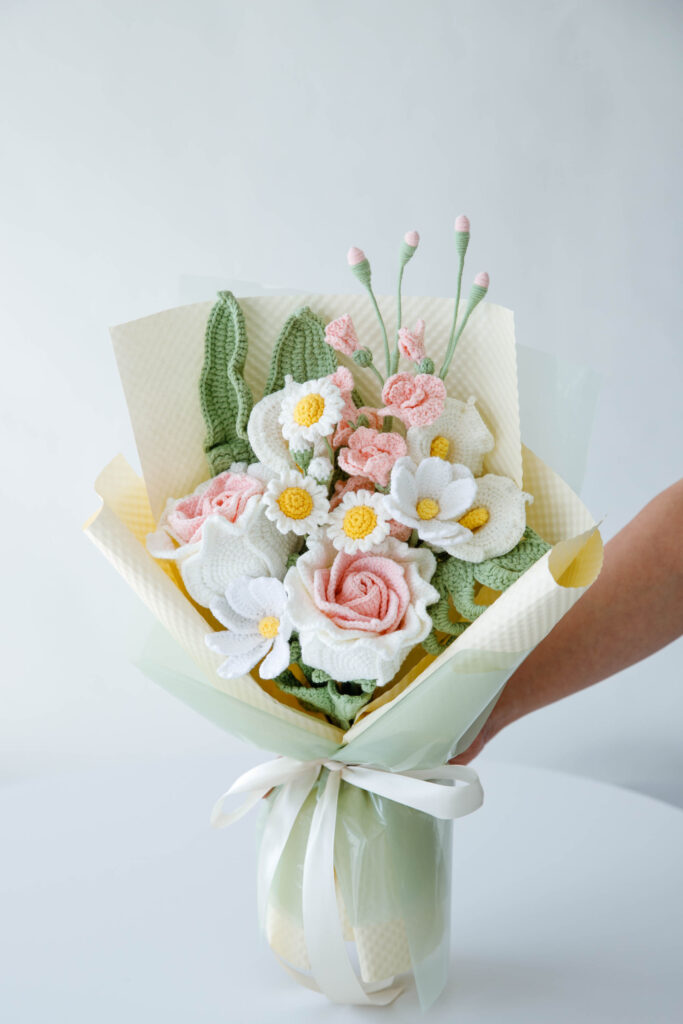
- 2. The exquisite appearance of Aisha Rose exudes its unique charm. You can experiment with different yarn colors and textures to create multiple variations of this beautiful design.
- 3. In addition to purple aisha roses, we find pink, yellow, red, and even gradient colors all look beautiful. So we provide 86 colors of cotton yarn for you to choose from. What are you waiting for, crocheters? Grab your hooks, select your favorite yarn, and let’s begin this amazing crochet adventure together.

Starter Kits
We have made you a beautiful crochet Aisha rose kit which included everything needed for homemade Aisha rose. With this package, you can make a Aisha rose bouquet containing 2 Aisha roses.
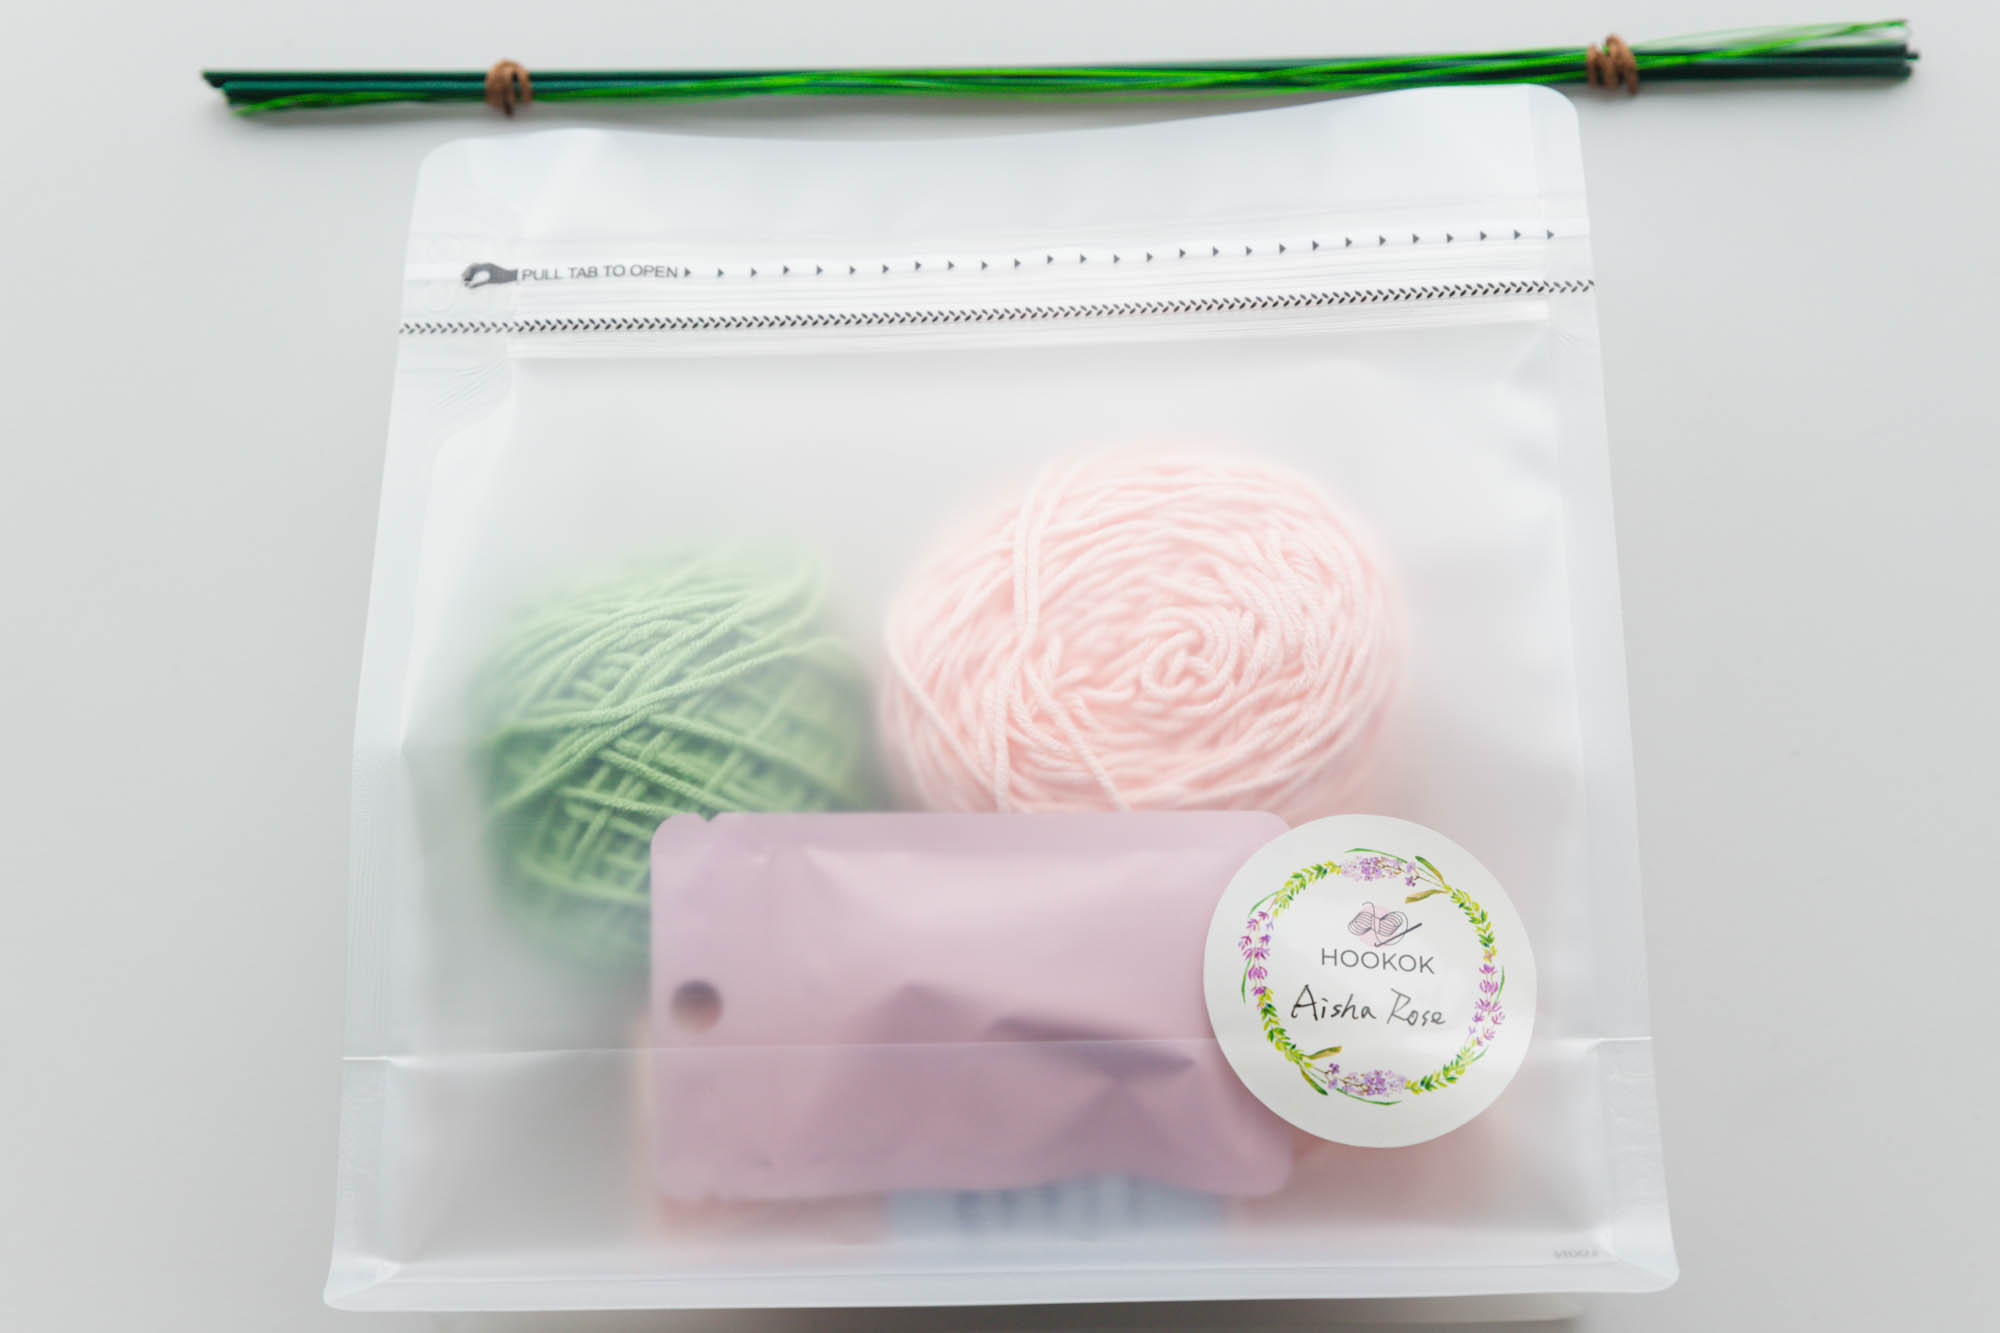
Materials for Crochet Aisha Rose
- Yarn- purple and green
- Crochet hook-2.0mm
- Scissors
- Darning needle
- Stitch marker
- Flower rod – 30 cm long
- Iron wire- 0.5 mm
- Hot melt adhesive
Stitches and Abbreviation
- sc: Single crochet.
- hdc: Half double crochet.
- dc: Double crochet.
- tr: Treble crochet.
- dtr: Double treble crochet.
- ss: Slip stitch.
- ch: Chain stitch.
- 2 ch picot st: A picot stitch created by chaining 2 stitches and then slip stitching into the first chain.
Special Stitches
- 2 ch picot stitch: refers to creating a picot stitch using a chain of 2 stitches. A picot stitch is a decorative element commonly used in crochet to create small loops or points that add texture and design to a pattern.
Pattern Notes
- Our pattern is written in US crochet terms.
- Follow the pattern carefully to avoid mistakes.
- Take note of the specific stitch counts and techniques.
- Use stitch markers to mark the beginning of each round.
- Additional notes are written in Italics.
Step-by-Step for Crochet Aisha Rose Patterns
Make 6 small petals for Crochet Aisha Rose:
- Start with a magic ring.
- R1: Make 5 sc in the round. 1 ss, 1 ch
- R2: Make (2 sc in next st) Repeat 5 times. 1 ss, 1 ch
- R3: Make (1 sc, 2 sc in next st) Repeat 5 times. 1 ss, 1 ch
- R4: Make (2 sc, 2 sc in next st) Repeat 5 times. 1 ss, 1 ch
- R5: Make (3 sc, 2 sc in next st) Repeat 5 times. 1 ss, 1 ch
- R6: Make (4 sc, 2 sc in next st) Repeat 5 times. 1 ss, 1 ch
- R7: Work 11 sc, followed by 2 hdc in next st, 2 hdc, 2 hdc in next st, 2 hdc, 2 hdc in next st, and 12 sc. 1 ss, 1 ch
- R8: Work 11 sc, followed by ( 2 dc in next st) Repeat 10 times, and 12 sc. 1 ss, 1 ch. cut and leave a tail.

Make 5 big petals for Crochet Aisha Rose:
- Start with a magic ring.
- R1: Make 5 sc in the round. 1 ss, 1 ch
- R2: Make (2 sc in next st) Repeat 5 times. 1 ss, 1 ch
- R3: Make (1 sc, 2 sc in next st) Repeat 5 times. 1 ss, 1 ch
- R4: Make (2 sc, 2 sc in next st) Repeat 5 times. 1 ss, 1 ch
- R5: Make (3 sc, 2 sc in next st) Repeat 5 times. 1 ss, 1 ch
- R6: Make (4 sc, 2 sc in next st) Repeat 5 times. 1 ss, 1 ch
- R7: Make (5 sc, 2 sc in next st) Repeat 5 times. 1 ss, 1 ch
- R8: Work 6 sc, followed by 2 hdc in next st, 6 hdc, 2 hdc in next st, 6 hdc, 2 hdc in next st, 6 hdc, 2 hdc in next st, and 7 sc. 1 ss.
- R9: 3 ch, Work 7 dc, followed by ( 3 dc in same st) repeat 25 times, and 7 dc. 1 ss, 1 ch. cut and leave a tail.

Flower sepals for Crochet Aisha rose:
- Start with a magic ring.
- R1: work 5 sc in the round. 1 ss, 1 ch
- R2: ( 2 sc in next st ) Repeat 5 times. 1 ss, 1 ch
- R3: Work 10 sc. 1 ss, 1 ch
- R4: ( 1 sc, 2 sc in next st) repeat 5 times. 1 ss, 1 ch
- R5: ( 2 sc, 2 sc in next st) repeat 5 times. 1 ss, 1 ch
- R6: ( 3 sc, 2 sc in next st) Repeat 5 times. 1 ss
- R7: (work 13 ch, then from the 2nd st of the hook, make 3 sc, 2 hdc, 2 dc, 2 tr, 3 dtr, sk 4, and 1 ss) Repeat 5 times. 1 ss, 1 ch. cut and weave the ends.

Leaf for crochet Crochet Aisha rose:
- Start with the foundation chain: 13 ch
- R1: From the 2nd st of the hook, add wire, then make 1 sc, 1 hdc, 2 dc, 4 tr, 2 dc, 1 hdc, 3 sc in the same st, 1 hdc, 2 dc, 4 tr, 2 dc, 1 hdc, and 1 sc. 1 ss, 1 ch
- R2: Make (1 sc, 2 ch picot st, 1 sc, 2 ch), 1 sc, 2 ch, then repeat, and end with 1 sc. 1 ss. cut and wrap it around the wire.

How to Assemble Crochet Aisha rose:
Step 1: Leaf Arrangement of Aisha Rose
- Gather the 3 crocheted aisha rose leaves.
- Attach the 3 leaves together, aligning their bases.
- Securely sew them together using green yarn.
- Use hot melt adhesive to secure the ends of the yarn and leaves in place.
- Position the two rose leaves side by side, forming a tilted arrangement.
- Set aside the assembled leaves.

Step 2: Assembling the Petals of Aisha Rose
- Take 2 flower rods and attach them together using green yarn.
- Secure the joint with hot melt adhesive for added stability.
- Arrange all the petals of crocheted Aisha Rose side by side.
- Secure each petal in place using hot melt adhesive.
- Use the green yarn to neatly sew over any existing yarn for a clean finish.

3: Attaching the Flower Sepal, the Flower, and the Leaves of Aisha Rose
- Position the flower sepals beneath the assembled crocheted flower of Aisha Rose. Secure the sepals in place using hot melt adhesive.

- Continue to weave the flower rod with the green yarn.
- While weaving attach the leaves of Aisha Rose alongside the flower rod.
- Use hot melt adhesive to firmly secure the end.

Afterthoughts and Wrap Up
Congratulations! You’ve finished crocheting your Aisha Rose with our free pattern that is easy to follow. Feel free to venture into different yarn colors, allowing your Aisha Rose to mirror your unique color inclinations. Happy Crafting!

If you like our pattern, please give us a 5 star. We love your feedback.

Crochet Aisha Rose – Free Pattern
Equipment
- crochet hook 2.0mm
- scissors
- Darning needle
- stitch marker
Ingredients
- Yarn- purple and green
- Flower rod – 30 cm long
- Iron wire- 0.5 mm
- Hot melt adhesive
Instructions
Step-by-Step for Crochet Aisha Rose Patterns
Make 6 small petals for Crochet Aisha Rose:
- Start with a magic ring.
- R1: Make 5 sc in the round. 1 ss, 1 ch
- R2: Make (2 sc in next st) Repeat 5 times. 1 ss, 1 ch
- R3: Make (1 sc, 2 sc in next st) Repeat 5 times. 1 ss, 1 ch
- R4: Make (2 sc, 2 sc in next st) Repeat 5 times. 1 ss, 1 ch
- R5: Make (3 sc, 2 sc in next st) Repeat 5 times. 1 ss, 1 ch
- R6: Make (4 sc, 2 sc in next st) Repeat 5 times. 1 ss, 1 ch
- R7: Work 11 sc, followed by 2 hdc in next st, 2 hdc, 2 hdc in next st, 2 hdc, 2 hdc in next st, and 12 sc. 1 ss, 1 ch
- R8: Work 11 sc, followed by ( 2 dc in next st) Repeat 10 times, and 12 sc. 1 ss, 1 ch. cut and leave a tail.
Make 5 big petals for Crochet Aisha Rose:
- Start with a magic ring.
- R1: Make 5 sc in the round. 1 ss, 1 ch
- R2: Make (2 sc in next st) Repeat 5 times. 1 ss, 1 ch
- R3: Make (1 sc, 2 sc in next st) Repeat 5 times. 1 ss, 1 ch
- R4: Make (2 sc, 2 sc in next st) Repeat 5 times. 1 ss, 1 ch
- R5: Make (3 sc, 2 sc in next st) Repeat 5 times. 1 ss, 1 ch
- R6: Make (4 sc, 2 sc in next st) Repeat 5 times. 1 ss, 1 ch
- R7: Make (5 sc, 2 sc in next st) Repeat 5 times. 1 ss, 1 ch
- R8: Work 6 sc, followed by 2 hdc in next st, 6 hdc, 2 hdc in next st, 6 hdc, 2 hdc in next st, 6 hdc, 2 hdc in next st, and 7 sc. 1 ss.
- R9: 3 ch, Work 7 dc, followed by ( 3 dc in same st) repeat 25 times, and 7 dc. 1 ss, 1 ch. cut and leave a tail.
Flower sepals for Crochet Aisha rose:
- Start with a magic ring.
- R1: work 5 sc in the round. 1 ss, 1 ch
- R2: ( 2 sc in next st ) Repeat 5 times. 1 ss, 1 ch
- R3: Work 10 sc. 1 ss, 1 ch
- R4: ( 1 sc, 2 sc in next st) repeat 5 times. 1 ss, 1 ch
- R5: ( 2 sc, 2 sc in next st) repeat 5 times. 1 ss, 1 ch
- R6: ( 3 sc, 2 sc in next st) Repeat 5 times. 1 ss
- R7: (work 13 ch, then from the 2nd st of the hook, make 3 sc, 2 hdc, 2 dc, 2 tr, 3 dtr, sk 4, and 1 ss) Repeat 5 times. 1 ss, 1 ch. cut and weave the ends.
Leaf for crochet Crochet Aisha rose:
- Start with the foundation chain: 13 ch
- R1: From the 2nd st of the hook, add wire, then make 1 sc, 1 hdc, 2 dc, 4 tr, 2 dc, 1 hdc, 3 sc in the same st, 1 hdc, 2 dc, 4 tr, 2 dc, 1 hdc, and 1 sc. 1 ss, 1 ch
- R2: Make (1 sc, 2 ch picot st, 1 sc, 2 ch), 1 sc, 2 ch, then repeat, and end with 1 sc. 1 ss. cut and wrap it around the wire.
How to Assemble Crochet Aisha rose:
Step 1: Leaf Arrangement of Aisha Rose
- Gather the 3 crocheted aisha rose leaves.
- Attach the 3 leaves together, aligning their bases.
- Securely sew them together using green yarn.
- Use hot melt adhesive to secure the ends of the yarn and leaves in place.
- Position the two rose leaves side by side, forming a tilted arrangement.
- Set aside the assembled leaves.
Step 2: Assembling the Petals of Aisha Rose
- Take 2 flower rods and attach them together using green yarn.
- Secure the joint with hot melt adhesive for added stability.
- Arrange all the petals of crocheted Aisha Rose side by side.
- Secure each petal in place using hot melt adhesive.
- Use the green yarn to neatly sew over any existing yarn for a clean finish.
Step 3: Attaching the Flower Sepal, the Flower, and the Leaves of Aisha Rose
- Position the flower sepals beneath the assembled crocheted flower of Aisha Rose. Secure the sepals in place using hot melt adhesive.
- Continue to weave the flower rod with the green yarn.
- While weaving attach the leaves of Aisha Rose alongside the flower rod.
- Use hot melt adhesive to firmly secure the end.
Video
Notes
- Our pattern is written in US crochet terms.
- Follow the pattern carefully to avoid mistakes.
- Take note of the specific stitch counts and techniques.
- Use stitch markers to mark the beginning of each round.
- Additional notes are written in Italics.
What’s Next?
Pin this post: Save this tutorial to your Pinterest boards so that you can come back to it later.
Leave a comment: We love to hear your feedback. Tell me in the comments below!
Share on Instagram or Facebook or Youtube: When you make this project, share it on social media and tag me @hookokcrochet. We love to see what you make!


I’ve never used US terms before but because they were explained this was very easy to follow. This flower is so pretty too 💜
Thanks,deer! Happy,crocheting!
You are wonderful !! thank you for sharing
Thank you for this beautiful pattern .. 💜💜💜💜 i love you
was easy to follow and it came out perfect
ABSOLUTELY GORGUES. We just struggle to get your beautiful yarns in South Africa
Made this for my grandma!!
Muy hermoso 😍😍
Very easy to follow and the steps are very clear.
Super facil, gracias.
Excelentes patrones, felicitaciones, muchísimas gracias.
I’m not new to crochet but flowers and amigurumi, they are just difficult for me. I’ve tried some of your flower patterns and the roses turned out so nice. You explain them so well and they are easy to follow. Thank you!!
Happy crocheting
I don’t like leaving negative reviews but when I did the pattern I had several problems. I had to redo it 3 times because I’d end up with more stitches until I did the slip stitch in the next stitch over skipping the slip stitch from the last row. I did struggle without the ending stitch count but that is personal preference. In the end my flower was too huge for me to give away. I just wish it gave a recommendation for yarn weight. I know some of it may be my fault but I just struggled with this pattern in the end
We used 2.0mm hook and 4-ply yarn. You can refer to the video tutorial to crochet. Looking forward to your finished product, happy crocheting! https://youtu.be/6H-UZJkYv9A
This is my first time trying out crocheting a flower, my best friend asked me to make these for center pieces! Just wondering what material of yarn was used?
Sorry just saw after I scrolled up lol mom brain!
Thank you for sharing the Aisha Rose Crochet pattern. I love the instructions and the step-by-step pattern. I am also following you on youtube. Excellent site, and would like to give you a 5 start. Thank you again for the lovely rose pattern. I am going to try.